Crimson Moon Best Build for Early Runs
Build a reliable early loadout with sword and shield safety, Frost control, matching Boons, and clear rules for pivoting around drops.
Direct answer
The safest documented early build pairs Covenant Sword and Crimson Oath Shield with Belwayne Knight armor, then uses Crescent Moon Halberd and matching Boons to add Frost control, stamina, sustain, and health.
Quick answer
- Anchor the loadout around one weapon role and the effects that keep it working.
- Stack matching trinket and Nexus Gate Boons when the opportunity appears.
- Pivot only when an immediate replacement creates a stronger coherent interaction.
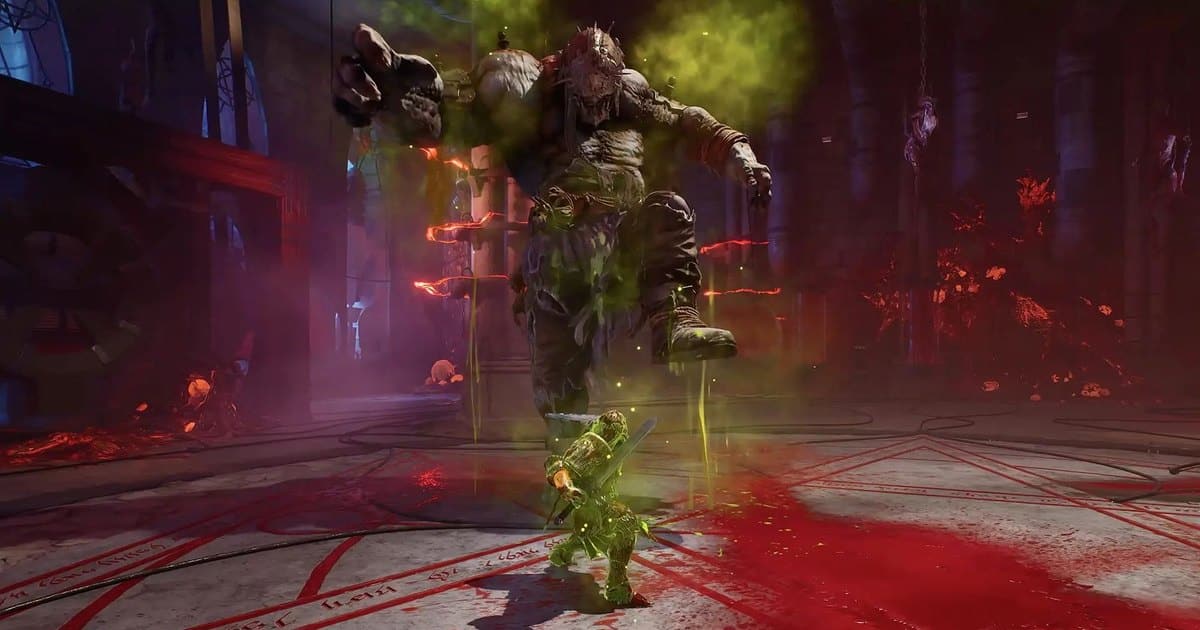
Best Build at a Glance
A good early build is a chain of supporting choices, not a pile of individually attractive bonuses. Start with a safe weapon configuration, add armor that protects its stamina economy, then use Boons that reinforce damage, recovery, or survivability.
| Slot or decision | Documented early choice | What it contributes |
|---|---|---|
| One-handed setup | Covenant Sword with Crimson Oath Shield | A balanced offensive core with shield defense |
| Utility weapon | Crescent Moon Halberd | Frost crowd control when the sword-and-shield plan needs space |
| Armor | Level-3 Belwayne Knight set | Physical defense and maximum stamina bonuses |
| Damage Boon | Sanguine Slice | Bleed added to the active plan |
| Stamina Boon | Resounding Charge | Stamina restored by sprint attacks |
| Sustain Boons | Reaper's Respite and Radiant Fortune | Healing on kills and increased maximum health |
The full loadout also includes trinkets, Weapon Arts, and an Angel. Use those slots to support the same combat loop. The complete weapon comparison helps when the weapon role is still unclear, while the armor set comparison narrows the defensive side of the plan.
Assemble the Early Balanced Build
- Equip Covenant Sword with Crimson Oath Shield as the dependable one-handed core.
- Keep Crescent Moon Halberd available when Frost crowd control is more valuable than shield defense.
- Use the level-3 Belwayne Knight set to support physical defense and maximum stamina.
- Select Sanguine Slice, Resounding Charge, Reaper's Respite, or Radiant Fortune based on the damage, stamina, sustain, or health gap in the current loadout.
- When a trinket already grants a Boon, favor the matching Nexus Gate Boon when stacking that effect strengthens the same plan.
Crimson Moon - This Frost Build SMASHES Through Your First Full Run!
See a current first-clear Frost build in action, including the way weapon, sustain, defense, and run choices reinforce one plan.
Keep the Plan or Pivot
Loot equips immediately during a hunt and replaces the item in that slot. Judge a drop by the interaction it creates right now.
| Situation | Keep or pivot | Reason |
|---|---|---|
| The drop supports the same weapon role or Boon trigger | Keep the plan and equip the upgrade | The new item strengthens an interaction already in use |
| The drop offers a larger isolated number but breaks the active effect chain | Keep the current item | A disconnected bonus can weaken the complete combat loop |
| The drop creates a stronger matching interaction across equipment and a Nexus Gate Boon | Pivot | The replacement immediately produces a more coherent plan |
| The drop changes the defensive structure from shield safety to two-handed control | Pivot only with enough stamina and spacing confidence | The new role changes how the build survives pressure |
For the next decision, use the loot lifecycle and purification guide to understand what happens to finds, then compare Aegis and Sunder build roles before locking the Angel choice.
Progress Checks and Recovery
The build is on track when each active effect has a clear job. The sword-and-shield pair supplies the safe core, the halberd supplies Frost control, the armor supports defense and stamina, and every selected Boon improves damage, stamina, sustain, or health.
If the build feels scattered, use this recovery check:
- Name the weapon configuration currently carrying the run.
- Identify the one effect chain that directly supports it.
- Keep a new drop only when it strengthens that role or creates a clearly stronger replacement chain.
- Remove decisions that add an unrelated trigger with no support elsewhere in the loadout.
A matching trinket Boon and Nexus Gate Boon provide a concrete confirmation that two slots are reinforcing the same mechanic.
Current Information Boundary
This setup is a documented launch-period starting framework. It gives early players a stable sword-and-shield core, a Frost utility option, and named Boon roles. It does not establish one permanent ranking for every random drop. Immediate equipment replacement means the best decision can change during a hunt, so coherence remains more useful than blindly preserving the starting list.
Frequently Asked Questions
Was this helpful?
Continue reading
These related Crimson Moon pages answer the next questions around this topic.