Crimson Moon Loot Guide: Keep, Purify, and Upgrade Gear
Learn where loot drops, how instant equipment swaps work, what Nexus Gates protect, and how purification creates permanent gear.
Direct answer
Loot found during a hunt is temporary until it is secured and purified. Take a drop only when the immediate equipment swap improves your build, pass Nexus Gates to protect eligible finds, then purify the best gear into your permanent armory.
Quick answer
- Explore and defeat elites or bosses for equipment and upgrades.
- A pickup equips immediately and drops the item it replaces.
- Purified gear becomes available for future loadouts.
- Blacksmith upgrades remain across later hunts.
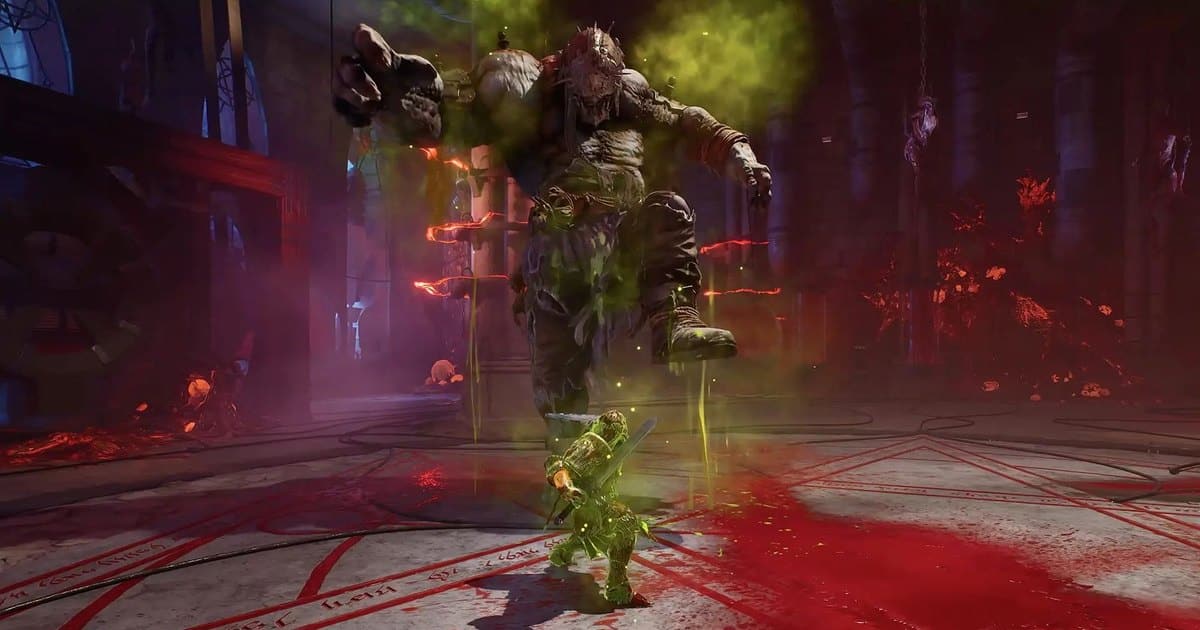
Loot Lifecycle at a Glance
Crimson Moon treats loot as a chain of decisions, not a bag of items to sort after combat. You find equipment in Gildenarch, decide whether to equip it immediately, secure valuable finds through mission progress, purify them at Sanctus Clypeus, and then use the armory and Blacksmith to prepare a stronger future hunt.
| Stage | What happens | What to check |
|---|---|---|
| Find | Exploration, elites, bosses, and mission rewards produce gear and upgrades | Does the new item serve the active build? |
| Equip | The pickup immediately fills its slot and drops the old item | Did you preserve your main damage, defense, or resource engine? |
| Secure | Nexus Gate progress protects eligible equipment from a later failure | Has the valuable item crossed a gate with you? |
| Purify | Recovered gear enters the permanent armory | Does it appear at the Loadout Station? |
| Upgrade | Blacksmith investment permanently improves equipment | Is this item useful across more than one future build? |
Where Loot Comes From
Weapons, armor, trinkets, consumables, and upgrades can come from four reliable activity types: exploring the environment, defeating elite enemies, killing bosses, and completing missions. A fast route to the objective may finish a hunt, while a more thorough route creates more chances to find equipment and secrets.
Higher difficulty adds risk and improves the opportunity for higher-rarity gear. It is an odds improvement, not a promise that a specific weapon or armor piece will appear. Use the difficulty decision rules before raising the setting solely for loot.
Decide Whether to Take a Drop
There is no traditional mid-hunt inventory screen for storing several alternatives. When you pick up equipment, it goes directly onto the character and the previous item in that slot falls to the ground. That makes the ground preview your final comparison point.
Take the drop
Swap when the new item's stats, Weapon Art, Boon, or defensive role strengthens the build you are using right now.
Best for: A clear upgrade or a deliberate build pivot
Leave it on the ground
Skip a sidegrade that breaks your main damage trigger, removes needed defense, or forces a plan you cannot support yet.
Best for: Protecting a coherent run build
Push to the next Nexus Gate
After finding something valuable, prioritize the next gate objective so eligible equipment is protected if the hunt later fails.
Best for: Banking a high-value find
Raise difficulty later
Move up only when current clears are stable. Higher difficulty improves higher-rarity opportunities, but it does not guarantee a specific drop.
Best for: Expanding the armory after reliable clears
Before taking a replacement, compare it in this order:
- Does it keep the build's core damage or survival trigger?
- Does its Weapon Art or Boon solve the next encounter better?
- Does the swap remove a shield, status effect, or resource bonus you still need?
- Can the rest of the current loadout support a full pivot?
For concrete item roles, compare the documented weapons and Weapon Arts and the launch armor set bonuses. If a drop changes several slots or effects at once, rebuild the logic with the early build synergy checklist.
Bank, Purify, and Upgrade Gear
Use this sequence whenever a hunt produces an item worth keeping:
- Pick up the item only after confirming that the immediate swap helps the current run.
- Advance through the next Nexus Gate so eligible looted equipment is stored with your mission progress.
- Return to Sanctus Clypeus after completing the mission, or recover the protected weaker purified form after a later failure.
- Purify the item so it enters the permanent armory.
- Open the Loadout Station and confirm the item is available for a future starting build.
- Use the Blacksmith for permanent investment after deciding the item deserves a long-term role.
The key progress check is simple: a permanent item appears among the Loadout Station choices before the next deployment. A Blacksmith upgrade then remains attached to your long-term progression across future hunts.
Recover From a Failed Hunt
A failed hunt does not treat every found item equally. Equipment that crossed the relevant Nexus Gate can return in a weaker purified form. Equipment still exposed before that progress point can be lost with the failed run.
| Symptom | Likely state | Next check |
|---|---|---|
| A recent drop is missing at the hub | It may not have been secured through a Nexus Gate | Reconstruct whether the pickup happened before or after the last cleared gate |
| The recovered item is weaker | It returned in the weaker purified form used after failure | Check the armory, then decide whether a Blacksmith upgrade is worthwhile |
| The item cannot be selected next run | It may not yet be in the permanent armory | Verify purification and then reopen the Loadout Station |
| You keep losing promising finds | The route is too risky after the pickup | Lower difficulty or prioritize the next gate before optional fights |
The full run structure and failure rules explain where Nexus Gates and final encounters sit in this sequence.
Choose the Next Upgrade Target
Permanent investment is most efficient when the item broadens your options. Favor a weapon that supports several builds, armor that fixes a recurring survival problem, or a utility piece that remains useful across different Wards. A narrow item can still be valuable when it answers a specific encounter, so the armory works best as a toolkit rather than a single ranking.
Upgrade after purification, when you can confirm the item exists in the permanent collection. During a hunt, prioritize surviving with the current build and securing the find. Between hunts, compare the item against the rest of the armory and spend permanent resources with a longer horizon.
What the Launch Rules Do and Do Not Promise
The launch rules confirm loot sources, immediate swaps, Nexus-based retention, purification, permanent armory access, and lasting Blacksmith upgrades. They do not provide a traditional reserve bag for delaying every equipment choice, and higher difficulty does not guarantee a named item or published drop rate.
This boundary changes the safest play: judge the visible drop in the moment, protect high-value finds through mission progress, and only raise difficulty after your current setting produces dependable clears.
Frequently Asked Questions
Was this helpful?
Continue reading
These related Crimson Moon pages answer the next questions around this topic.