Crimson Moon Difficulty Guide: Choose the Right Setting
Compare Crimson Moon's six launch difficulty levels, reward tradeoffs, change rules, readiness checks, and current per-tier information limits.
Direct answer
Choose one of six difficulty levels at the War Table. Move up when current hunts feel easy and better reward opportunities justify the risk, or move down when repeated failures stop reliable progression.
Quick answer
- The selected difficulty remains fixed until the run ends.
- Higher difficulty improves reward potential and higher-rarity gear opportunities.
- Change the setting at the War Table after success or death.
- Exact per-tier enemy, life, XP, gold, and rarity values are unpublished.
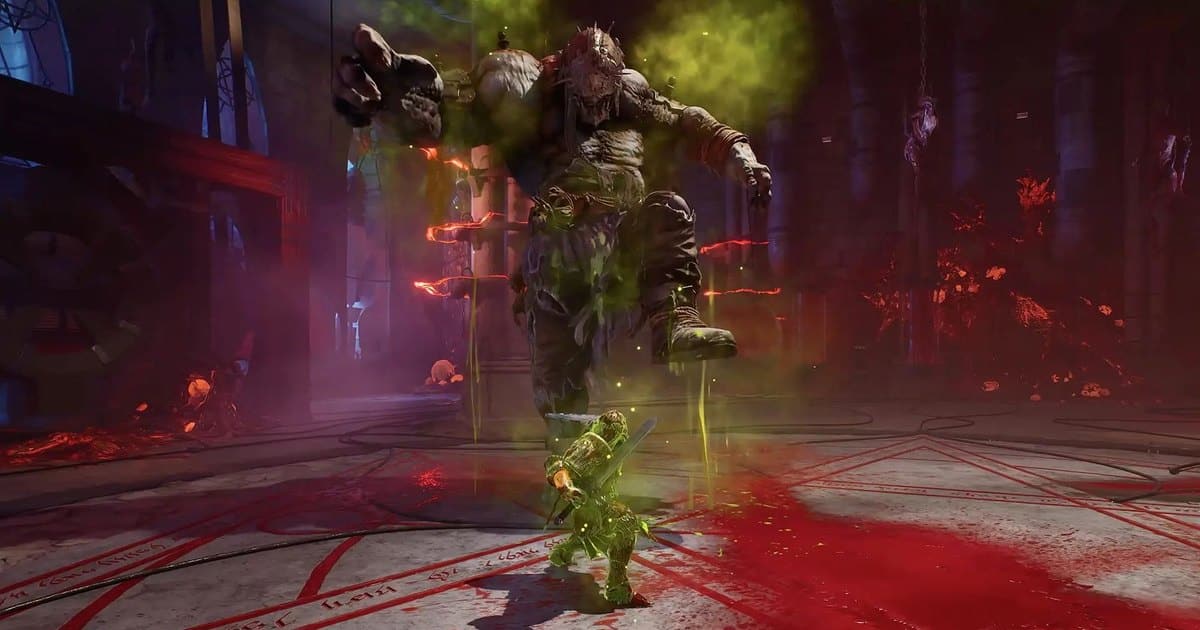
Difficulty at a Glance
Crimson Moon has six difficulty levels, all selected at the War Table before deployment. The confirmed comparison is directional: higher settings create greater risk and improve reward potential, including more opportunities for higher-rarity gear. The selected setting remains active until the run ends.
| Decision | Confirmed effect | Best use | Current information limit |
|---|---|---|---|
| Move down | Reduces the setting after a failed or completed run | Rebuild clear consistency when progression stalls | No verified per-tier life or enemy table |
| Stay | Keeps the current risk and reward relationship | Continue when clears are useful without feeling trivial | No published exact XP or gold multiplier |
| Move up | Adds risk and improves reward potential | Seek faster upgrades after comfortable clears | Higher rarity is an opportunity, not a named-item guarantee |
Beginner overview of difficulty and rewards
Watch the launch gameplay overview for the practical rule behind matching difficulty to skill and pursuing stronger rewards.
Choose When to Move Up or Down
Use clear reliability as the primary decision signal. A higher setting only pays when the hunter can still convert its risk into completed runs.
Move up
Raise the setting after current runs feel easy and the improved reward opportunity justifies the added risk.
Best for: Comfortable clears and faster upgrade goals
Stay
Keep the setting when runs remain challenging yet complete often enough to advance permanent progression.
Best for: Learning encounters without stopping payouts
Move down
Lower the setting when repeated failures prevent mission completion and delay useful permanent gains.
Best for: Recovering clear consistency
Apply the choice only after the current hunt finishes. The War Table can change difficulty after success or death, and the new selection then remains fixed for the next run.
What the Six Levels Actually Change
The six-level system controls the run's risk and reward setting. Higher choices improve reward potential and create more opportunities for higher-rarity equipment. All six follow the same verified timing rule: selection happens at the War Table and remains locked until the run ends through final-boss victory or death.
The launch material does not publish the six level names or a reliable row-by-row table for enemy composition and available lives. It also does not provide exact XP, gold, or rarity multipliers for each setting. Use the six positions as relative risk choices and judge the current one from completed hunts, not from an unsupported numeric chart.
Recover from a Difficulty Mismatch
| Symptom | Likely decision problem | Next check |
|---|---|---|
| Repeated runs end before the final boss | The selected setting is blocking reliable progression | Finish the attempt, then lower difficulty at the War Table |
| Current runs feel consistently easy | The setting may no longer justify staying | Move up one choice after the run and reassess completion reliability |
| Rare gear feels inconsistent | Higher difficulty improves opportunity without guaranteeing a named drop | Track completed payouts instead of assuming a fixed drop result |
| You cannot change the option mid-run | The current selection remains locked until success or death | Make the adjustment after returning to Sanctus Clypeus |
After a failed mission, review what the run failure and carryover rules preserved before deciding whether the next attempt needs less risk or a stronger permanent setup.
Check Your Next Run
Before deploying again, confirm three things. First, the desired difficulty is selected at the War Table. Second, the loadout can repeat the actions that produced the last comfortable clear. Third, the possible reward improvement is worth exposing the current hunt to more failure risk.
Use the loot retention and purification sequence when higher-rarity equipment is the goal. If combat reliability is the limiting factor, review the build synergy checklist and compare the documented weapon roles before increasing the setting.
The success check is a completed run at the new setting, followed by a payout that supports the next permanent upgrade. One early failure can reveal a matchup problem. Repeated failures indicate that the setting or build needs adjustment.
What Launch Data Does Not Publish
Current verified English information confirms the number of settings, when they can change, how long a choice lasts, and the higher-risk, higher-reward direction. It does not provide six official names or exact per-level values for enemies, lives, XP, gold, or rarity. Any table claiming those exact launch values needs independent in-game confirmation before it should guide a build.
Frequently Asked Questions
Was this helpful?
Continue reading
These related Crimson Moon pages answer the next questions around this topic.