Crimson Moon Runs Guide: From War Table to Final Boss
Follow a Crimson Moon run from hub preparation through Districts, Nexus Gates, the final boss, failure recovery, and permanent carryover.
Direct answer
Start each run in Sanctus Clypeus, choose a mission and difficulty at the War Table, clear District and Nexus Gate objectives, then defeat the final boss to bank the full mission payout.
Quick answer
- Nexus Gates advance the mission and grant temporary Boons.
- Failure removes bonus rewards and unbanked equipment or consumables.
- Experience, levels, purified gear, upgrades, and unlocks support later hunts.
- Run-only Boons and buffs expire when the mission ends.
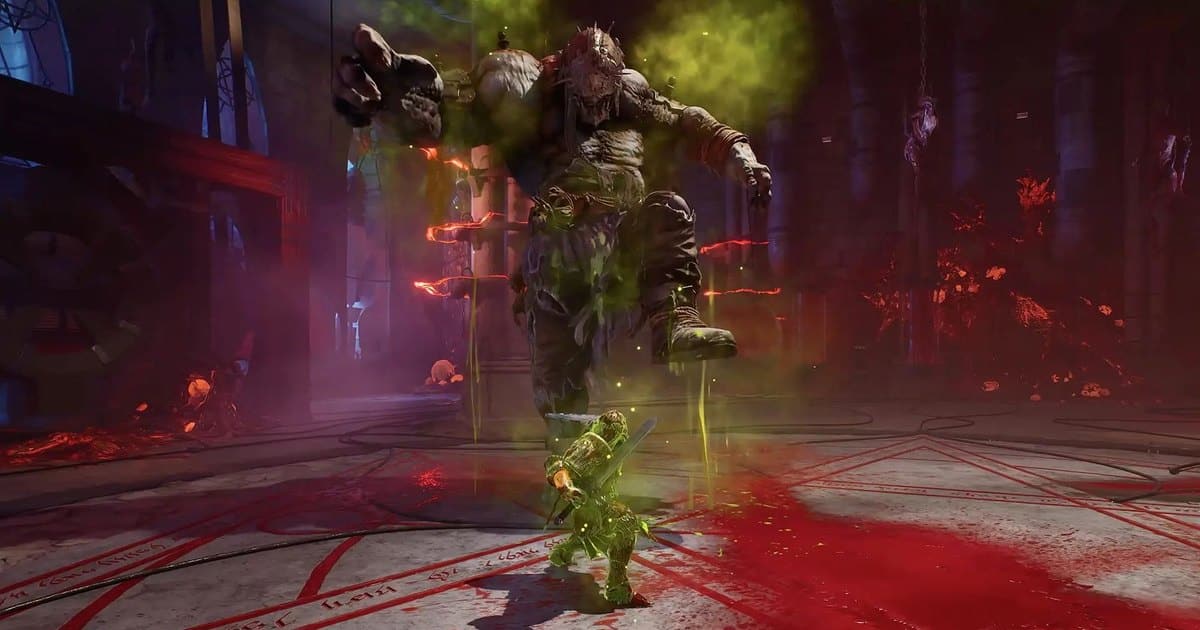
Run Structure at a Glance
A Crimson Moon run starts at Sanctus Clypeus, where you prepare the loadout that will enter the next Ward. The War Table locks in the mission and difficulty, District objectives move the hunt forward, and Nexus Gates lead toward the final encounter.
| Phase | Required action | Progress signal | What is at risk |
|---|---|---|---|
| Sanctus Clypeus | Prepare permanent equipment and upgrades | The loadout is ready for deployment | Nothing from the new run yet |
| War Table | Select the mission and difficulty | Deployment into the chosen Ward begins | The selected difficulty lasts for the run |
| Districts | Complete the current objectives | A Nexus Gate becomes the next milestone | Unbanked equipment and consumables remain exposed |
| Nexus Gates | Pass each gate and choose one Boon | The mission advances and the Boon activates | The Boon is temporary |
| Final encounter | Defeat the final boss | The mission completes and returns you to the hub | Failure still ends the run |
Complete a Run from Hub to Boss
Use the same sequence for every hunt, even when the Ward layout and combat demands change.
- Prepare in Sanctus Clypeus with the permanent gear, unlocks, and upgrades available to the current hunter.
- Open the War Table and choose both the mission and the difficulty for this run.
- Enter the Ward and clear the active objectives across its Districts.
- Pass each Nexus Gate, then choose the temporary Boon that best supports the current loadout.
- Continue through the remaining District objectives until the final encounter opens.
- Defeat the final boss to finish the mission and return to Sanctus Clypeus with the secured payout.
How a Crimson Moon run fits together
See the official overview of Wards, missions, bosses, failure risk, and the progression that remains after a hunt.
Check Progress at Each Phase
The clearest mid-run confirmation is a passed Nexus Gate. It proves that the preceding objective chain is complete and grants one temporary Boon. That Boon remains active until the mission finishes or the hunter dies.
At the end of the run, the progress signal changes. A final-boss victory returns you to Sanctus Clypeus with experience, stored loot, souls, and gold. If you are still moving through District objectives, the full completion payout has not been reached.
Decide When to Push or Protect Progress
Treat every Nexus Gate as a progress marker, then judge the next fight against what remains exposed. A valuable unbanked drop creates a different risk decision from a run carrying only replaceable consumables. Temporary Boons make the current hunter stronger, yet they do not become part of the next starting loadout.
Before raising the War Table setting, use the difficulty risk and reward checks. When a new item changes the value of continuing, follow the loot retention and purification path. You can also compare documented weapons and Weapon Arts before committing permanent resources to a new combat plan.
Push toward the boss when the current build can clear objectives reliably and the possible payout justifies the exposed loot. Favor a safer route or a lower setting on the next attempt when repeated failures prevent permanent progress.
Recover After a Failed Run
Failure ends the mission. Bonus rewards, unbanked equipment, and unbanked consumables are forfeited, while experience and levels already earned remain. Recovery begins by separating permanent progress from run-only power.
| Symptom after returning | What it means | Next action |
|---|---|---|
| A recent item is missing | It remained unbanked when the mission failed | Rebuild from the permanent armory and protect the next valuable find earlier |
| The latest Boon is gone | Boons last only for the active mission | Choose the next run's Boons around its actual drops and objectives |
| Hunter level remains | Earned experience and levels persist | Spend the retained progress on a more reliable attempt |
| The same route keeps ending early | Current risk exceeds reliable clear strength | Lower difficulty at the War Table after the run and refine the loadout |
For a more deliberate rebuild, use the build synergy checklist before deploying again.
What Carries Into Future Hunts
Purified gear, Blacksmith upgrades, and unlocked equipment remain available for later runs. Earned experience and levels also survive mission failure. These systems form the durable progression layer that should make the next attempt more controllable.
Mid-hunt Boons and buffs expire. They should be evaluated for the current Ward and final encounter, without treating them as permanent account upgrades.
Where Launch Information Ends
The launch rules establish the hub, War Table, District, Nexus Gate, final-boss, failure, and carryover sequence. They also define the categories of rewards lost or retained. They do not provide a verified universal life count for every selected difficulty or a per-tier reward multiplier table, so planning should use observable clear consistency and the confirmed retention rules.
Frequently Asked Questions
Was this helpful?
Continue reading
These related Crimson Moon pages answer the next questions around this topic.